|
Today
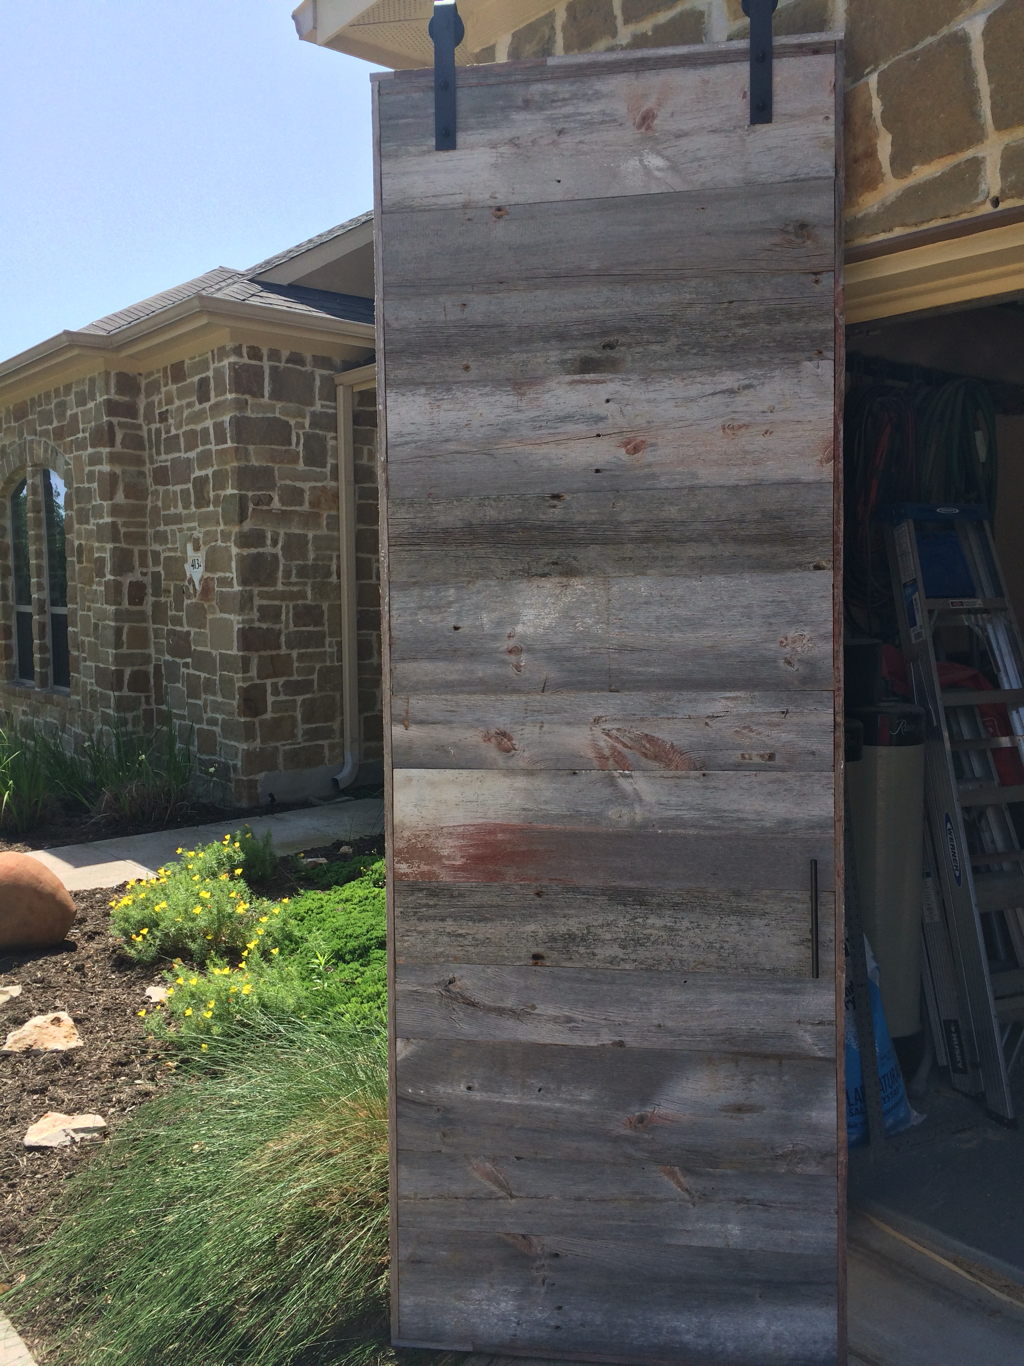
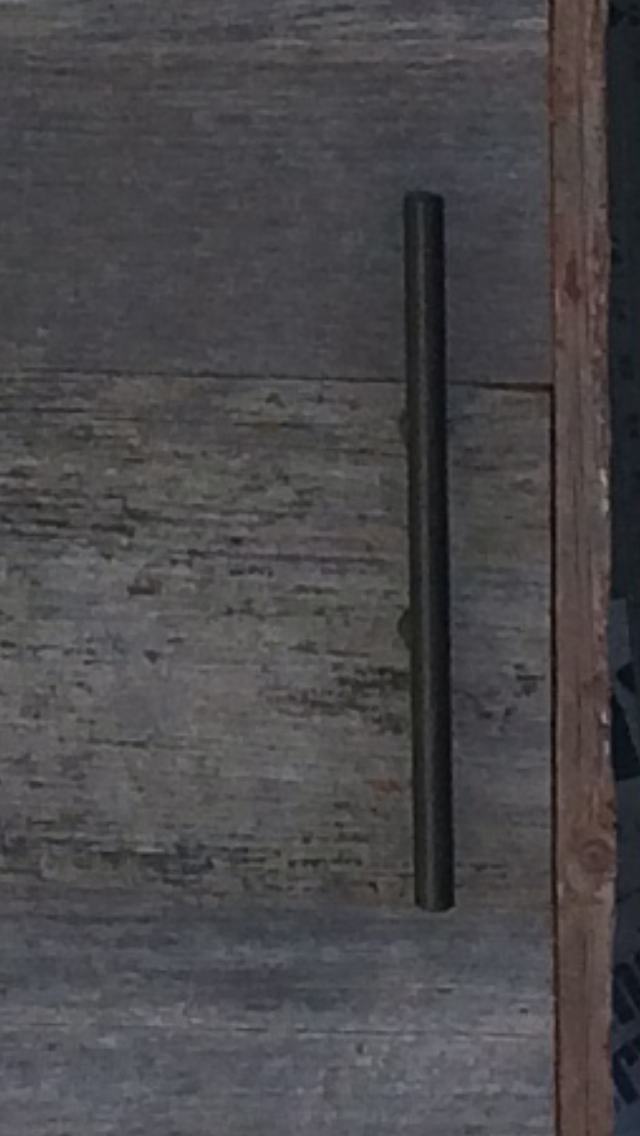
I built this custom antique barn wood barn door. The backside is custom tongue and groove poplar 1x8. The pull hardware is custom forged from 1/2 round steel. The finish on the barn wood side is clear over what God has done for the past 80 years and the back is painted white to match the client's trim.
1 Comment
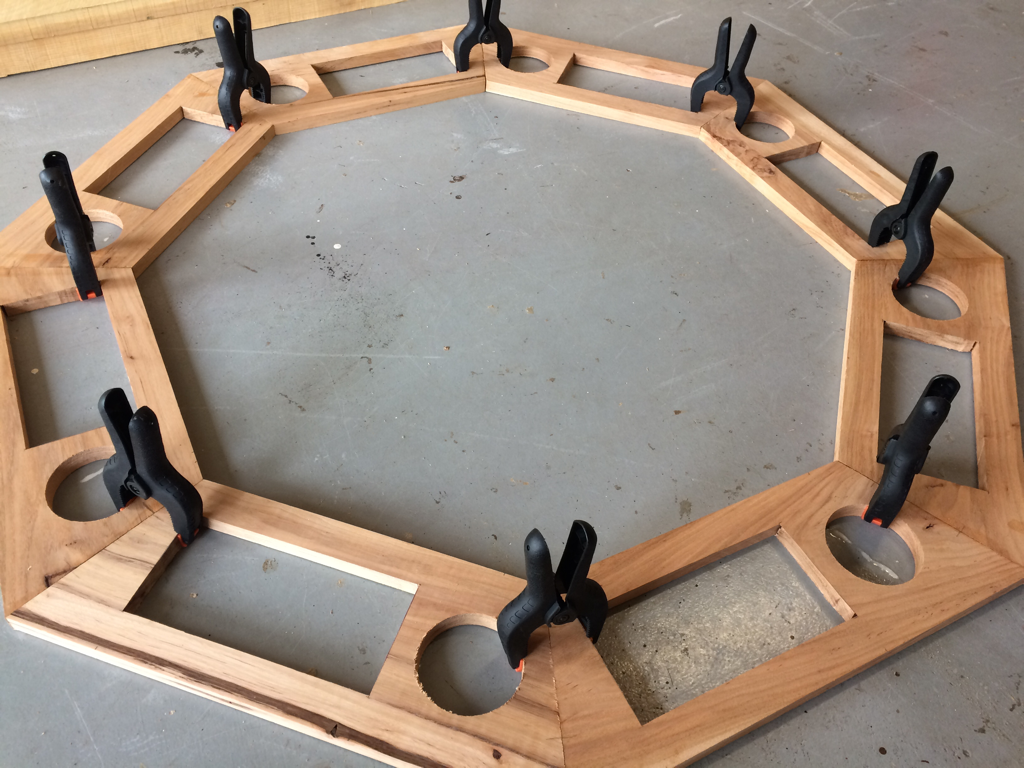
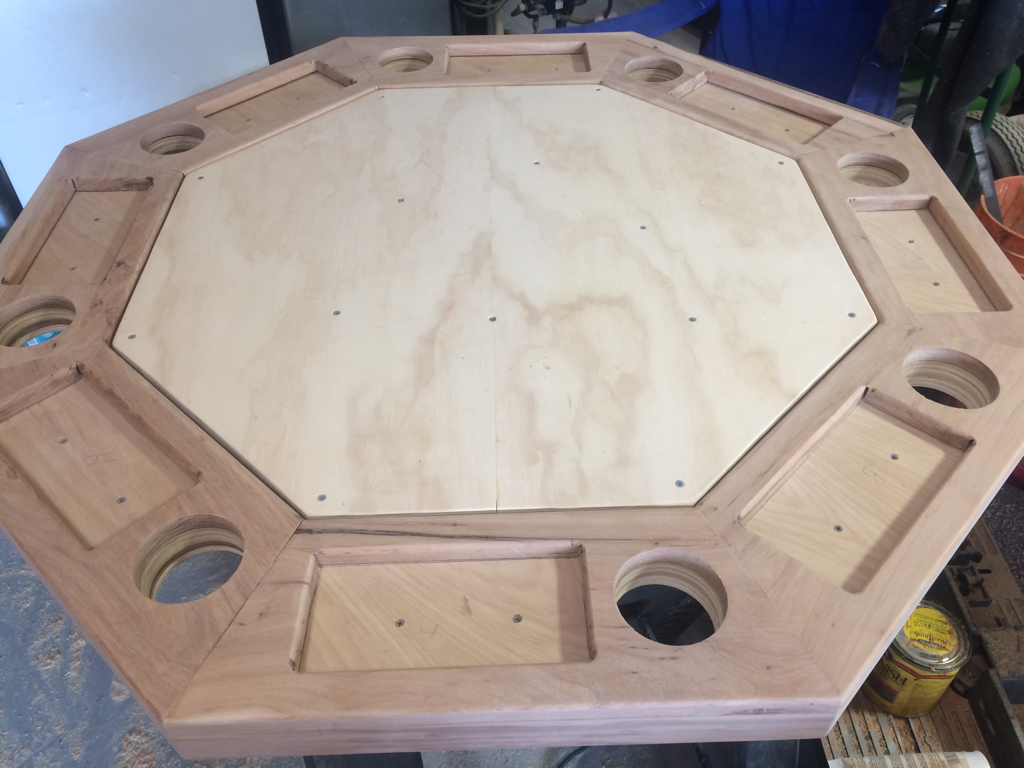
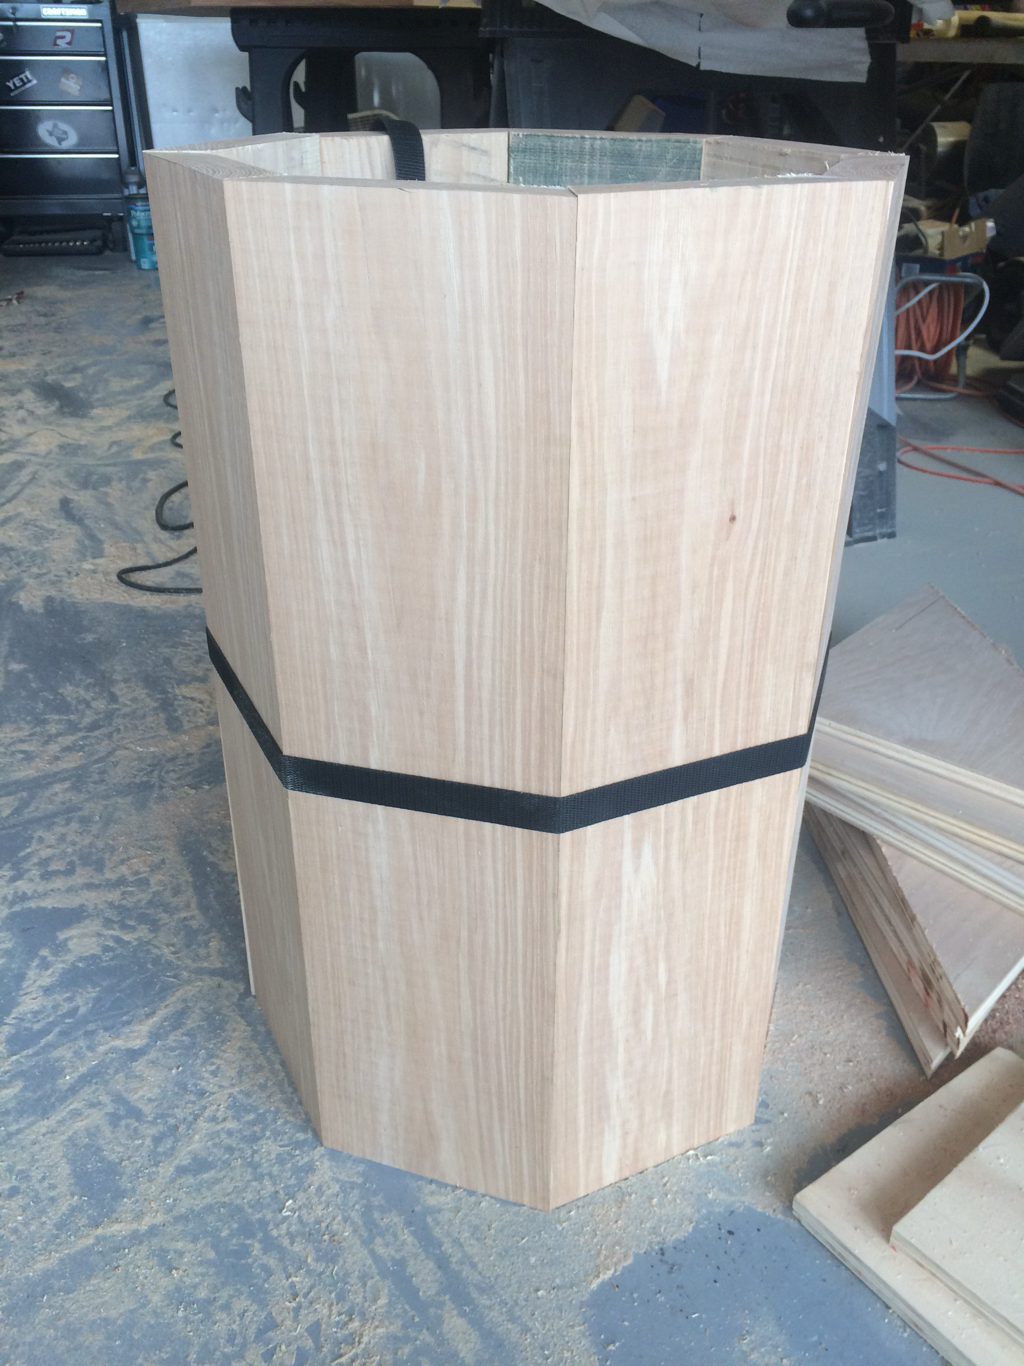
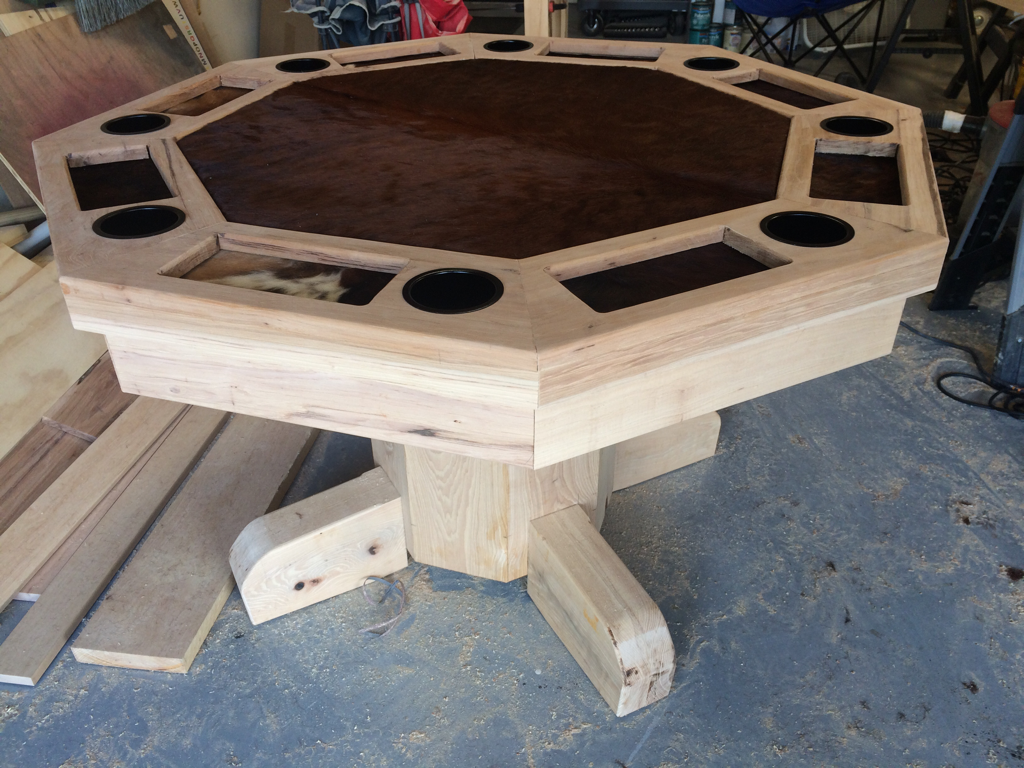
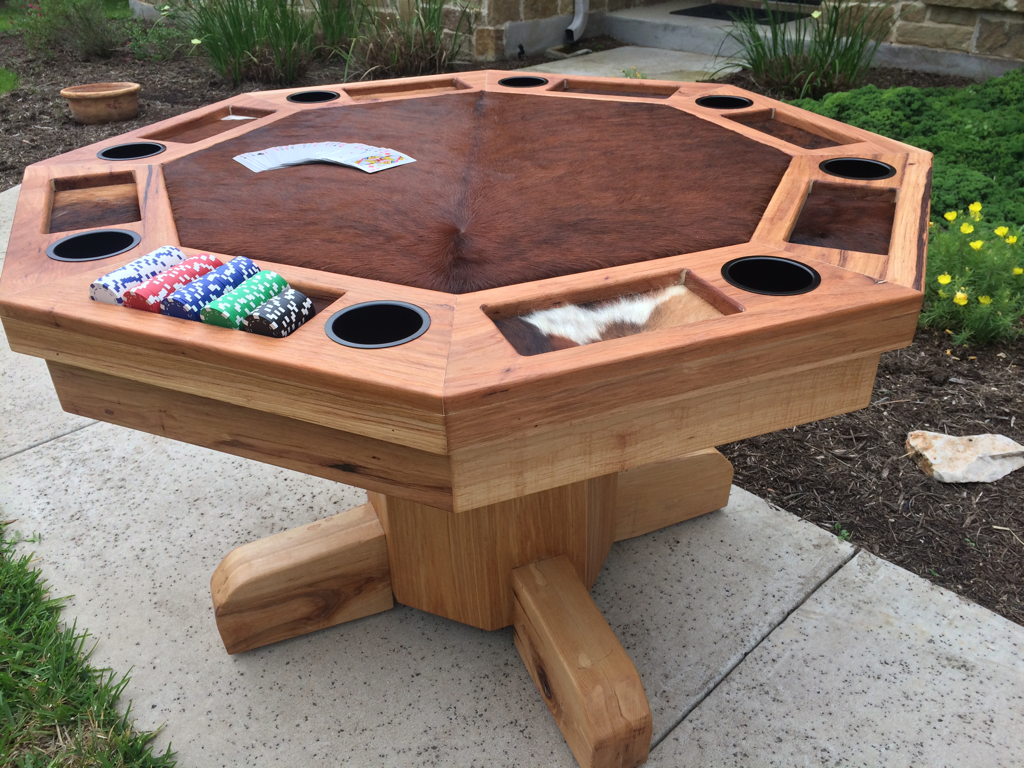
Today I picked up the lumber at Fine Lumber and Plywood in Austin. I made the the top ring of the table out of 1x8 Hickory cut at a 22.5 deg angle on each end. The outside (long dimension) on each side is 19-7/8". That makes a poker table that is 48" across. I started the day making it fit in a 48" diameter circle, but quickly learned that the table was going to be too small if I did that. The cupholder holes are 3 1/2" diameter holes cut with a hole saw. The chip holder cutout is 4 1/2" x 9 1/8" and will be large enough to hold 5 rows of poker chips. I biscuit jointed the mitered ends with 2 #20 biscuits per joint and glued the joints with gorilla wood glue. Tomorrow, I will build up the edges to 2-1/4" thick, create the playing field cutouts and start the pedestal as well. Today I built the playing surface and the base of the table top out of 3/4" Hickory plywood. I cut strips of 3/4" solid hickory and biscuited them to the edges of the top ring to create a hick top look. I also built the pedestal out of solid 6/4" Hickory cut on a 22.5 deg angle. Tomorrow I will attach the pedestal to the top and create the "feet" for the pedestal out of 8/4" Hickory. This one is getting close. About 3 more days. Today I finished the woodwork on the top. I made a mounting ring to attach the pedestal and built the the trim skirt around the bottom of the top. I also created feet out of 8/4" Hickory laminated together to make it 4" thick. The pedestal has been biscuited, glued and screwed together with Kreg pocket screws. I also cut out the brindle hide to fit the playing surface. That's enough for today. It's Good Friday!! Easter is coming!! He is Risen!! Finished the poker table today. I glued batting to the sub top then stretched the brindle hide over that. Finally, finished the hickory with 3 coats of teak oil. I think this one turned out fantastic!
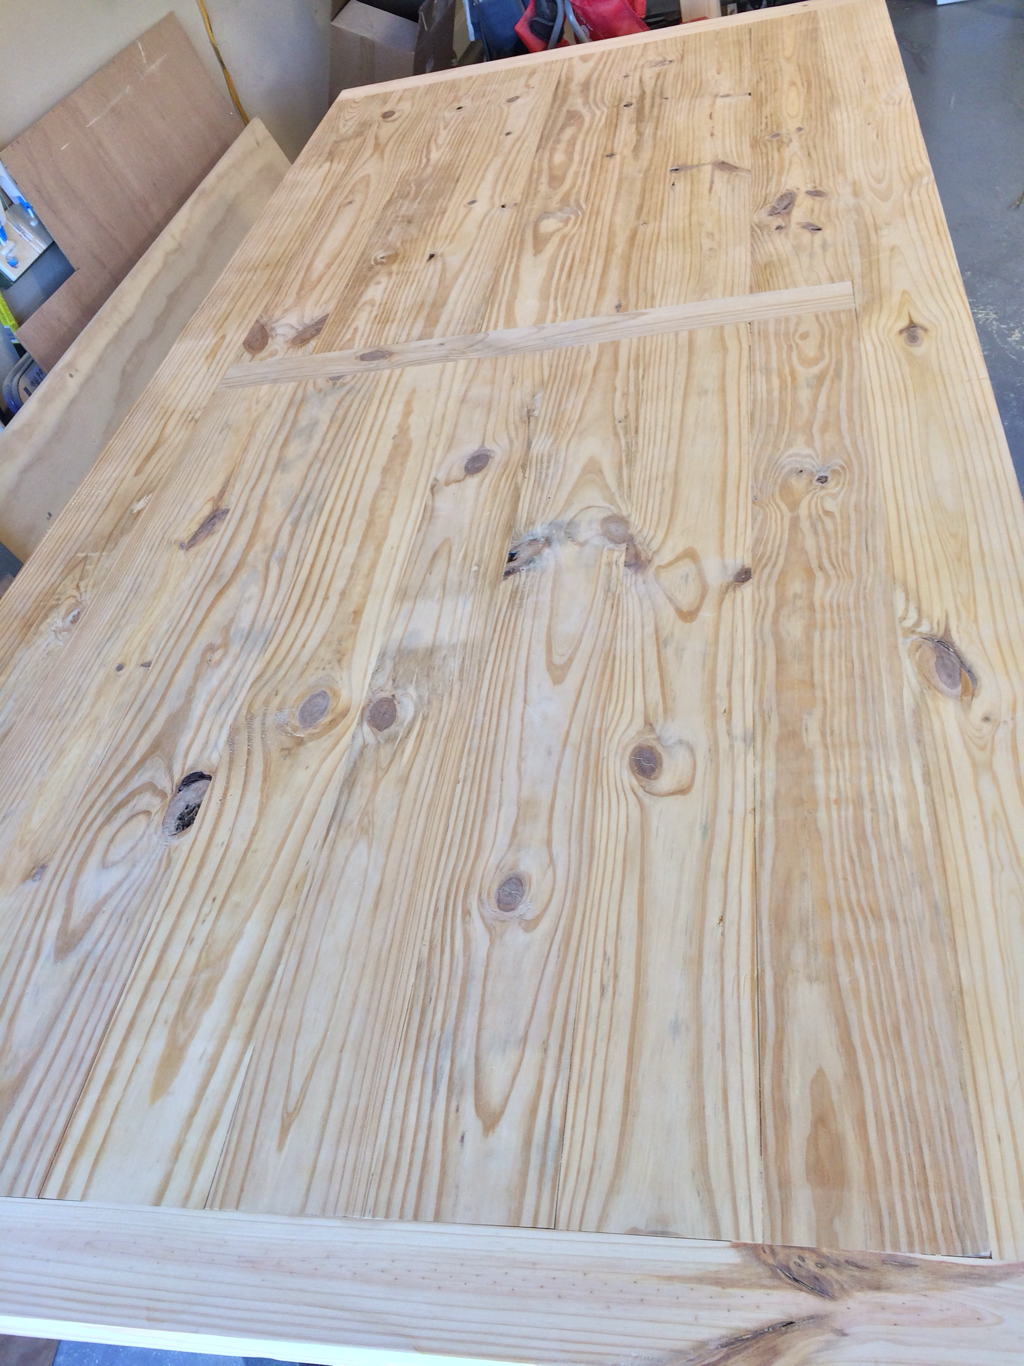
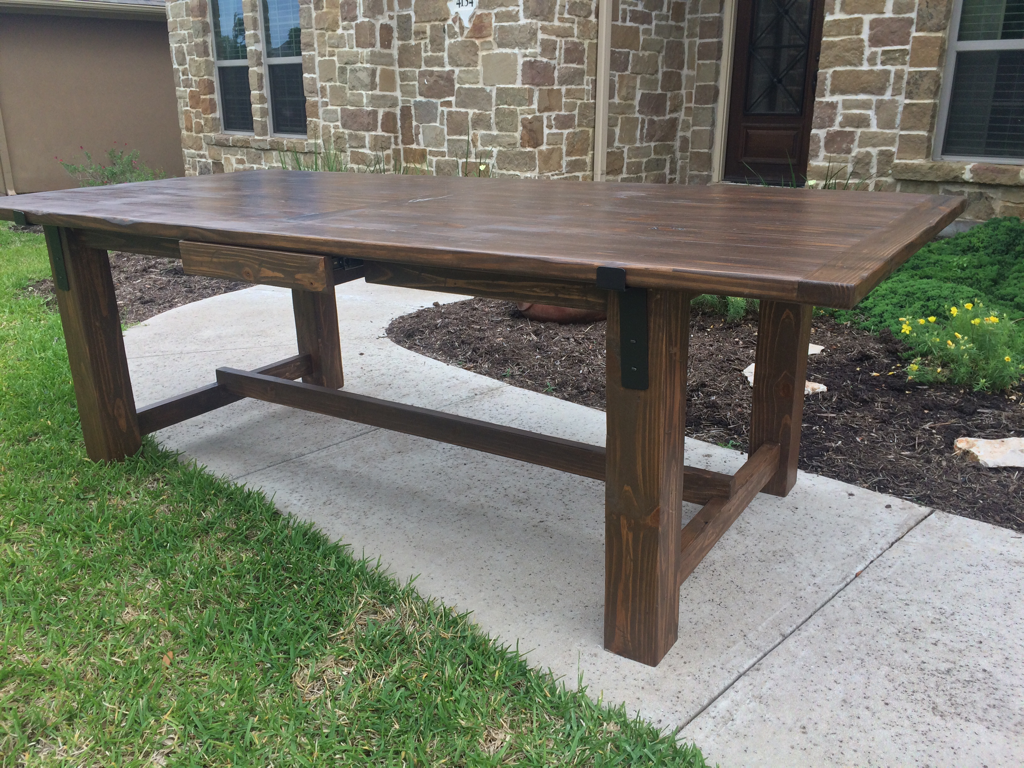
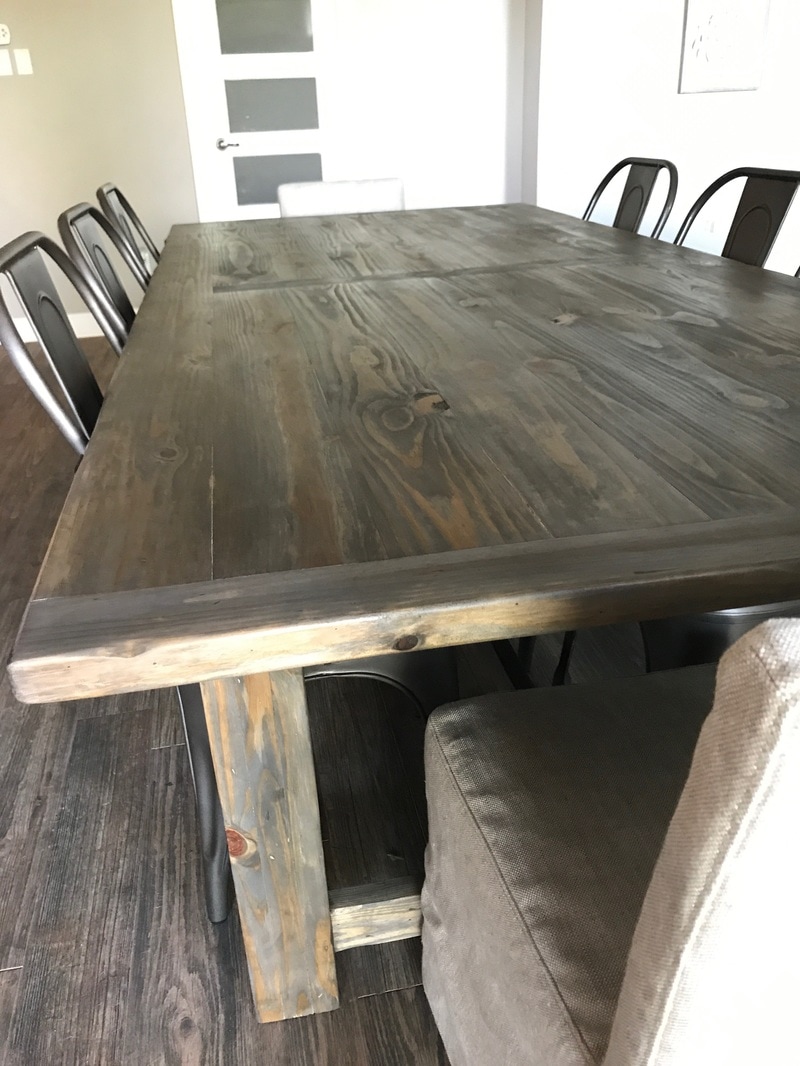
I am building a custom distressed dining room table today. I started this project with 2x6 SYP studs. In order to turn framing lumber into a piece of furniture there is a great deal of mill work that needs to be done first. I ripped each 2x6 down to 5" then jointed the edges so they were flat and had square edges. Only then was I able to put the table top together. This is one should only take another day or so. Should be beautiful! I think this one turned out beautifully, but the client was not happy. I am pulling this one back and am going to rework the finish for them. The customer is always right! Stay tuned for the updated photo. After many hours of stripping and sanding, this is the new finished distressed pine dining table. The finish is a new product that I had never used before called "Weathered Wood". It actually reacts with the tannins in the wood to produce a weathered look. The surface is then treated with an oil for protection.
|
AuthorI live in Austin Texas with my gorgeous wife Lisa and incredible son Hudson. I have a master's degree in mechanical engineering, and have spent the last 20 years manufacturing everything from car parts to school furniture. My passion is working alongside God to reveal the beauty that he has created! Archives
March 2019
Categories |
Jon Archer - (737) 444-3339 |
Made with Love in Austin, Texas
|
© Jon Archer - All rights reserved.
|

 RSS Feed